How to install R?

R programming language is a free, open-source project for statistical computing. It compiles for UNIX-like platforms and several macOS and Windows versions. For running the latest version you will need Windows 7 or later or Mac OS X 10.6 and above. In this tutorial you will learn how to install R and RStudio.
Installing R. The R project
The first step for becoming a Data Scientist or Data Analyst is having R installed on your computer. R can be freely downloaded in its official page. Note that installation requires up to 150 Mb of disk space available. The official web page of the R project is the following:
In the previous link you can find interesting information about the R project, the R Foundation, the releases, documentation and other interesting links.
Install R on Windows
In order to install R on Windows, you can go through the following link and click on “Download R x.x.x for Windows” to start downloading the latest R version available.
https://cran.r-project.org/bin/windows/base/
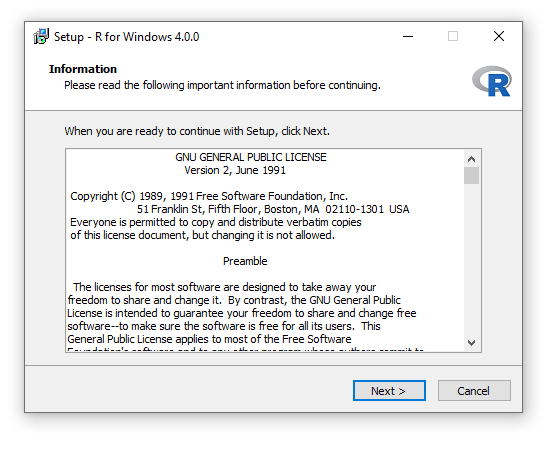
Once downloaded, open it, select the preferred language and click Next to all dialogs.
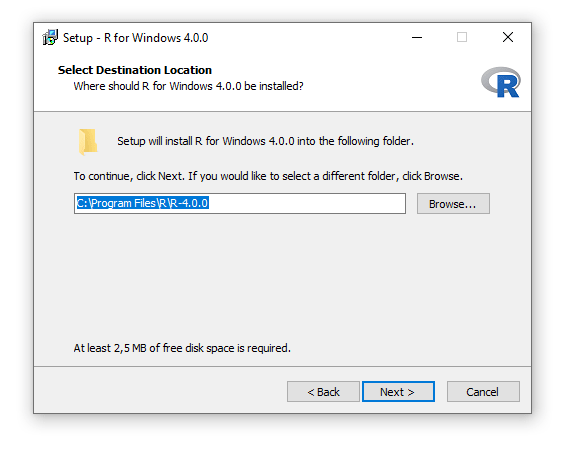
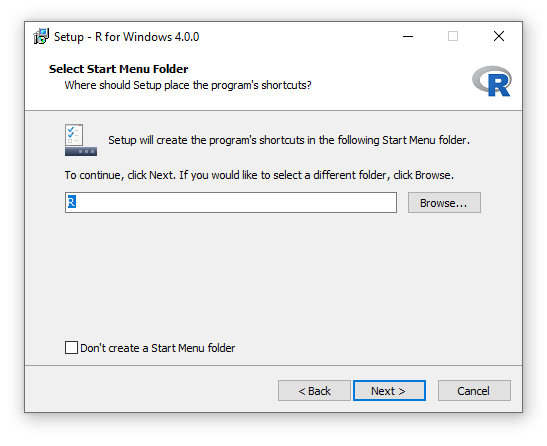
Remember to select the path where you want to install R:
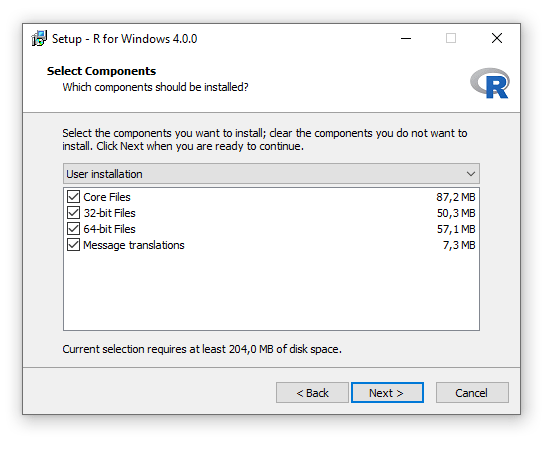
Note that you can uncheck the bit files that not correspond to your PC if desired.
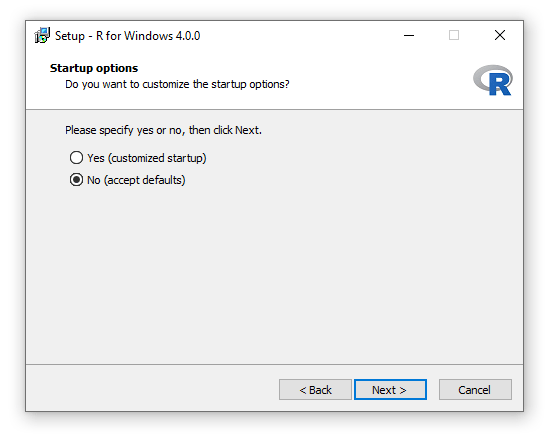
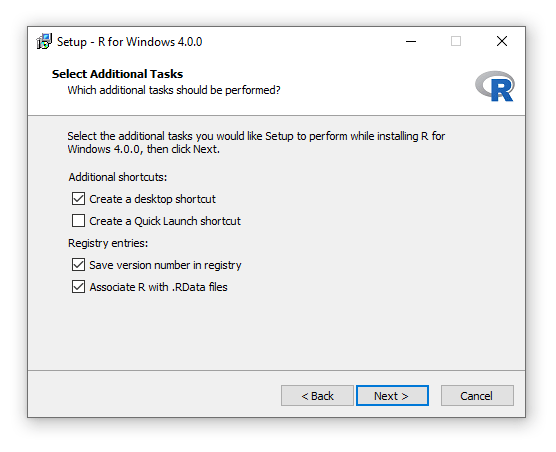
You can also specify to customize some startup options:
When the installation finishes, you will be able to start using base R on Windows.
Install R in mac OS
The process of installing R in a mac is analogous to installing it in Windows. You can download the binary package (for Mac OS X 10.6 and above) from the following URL and then install it.
https://cran.r-project.org/bin/macosx/
If for some reason you are using Mac OS 8.6 to 9.2 (and Mac OS X 10.1) versions here you can find the old binary packages. For older Mac OS X systems and PowerPC Macs, you must use this repository to download R.
Install R with Homebrew
An alternative to install R in macOS is to use the Homebrew package manager. For that purpose you just need to type the following in the corresponding brew terminal:
$ brew install rInstall RStudio
RStudio is the most popular IDE for R, providing a clean and useful graphic interface for developing in R language. The main advantages of this IDE are the pane layout for getting help and displaying plots (even interactive), creating RMarkdown and Sweave documents, among others. You can download RStudio from the following link:
https://posit.co/download/rstudio-desktop/#download
Once downloaded, open the setup wizard and follow the simple steps.
R basic commands
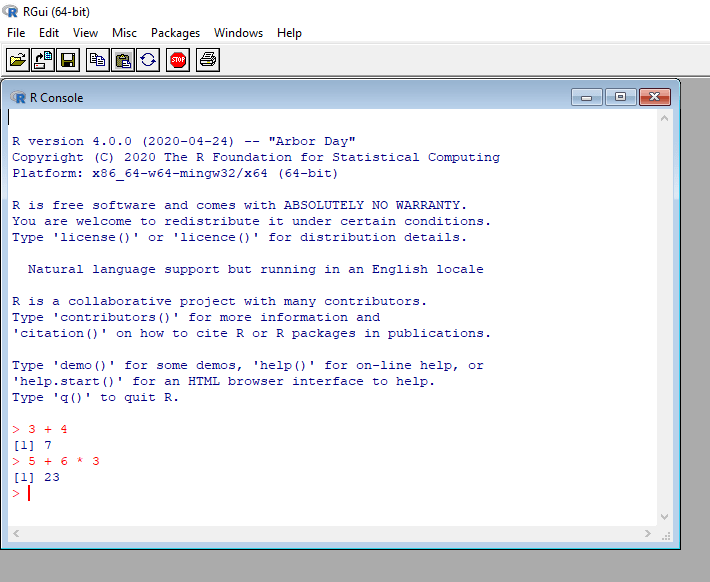
After downloading R and RStudio open one and you will see the corresponding IDE (Integrated Development Environment). First, try to write direct commands in the commands window, where you can see the symbol > for start writing. Write the following and press Enter in the command line.
3 + 4
5 + 6 * 3
Those were your first R commands. Amazing!
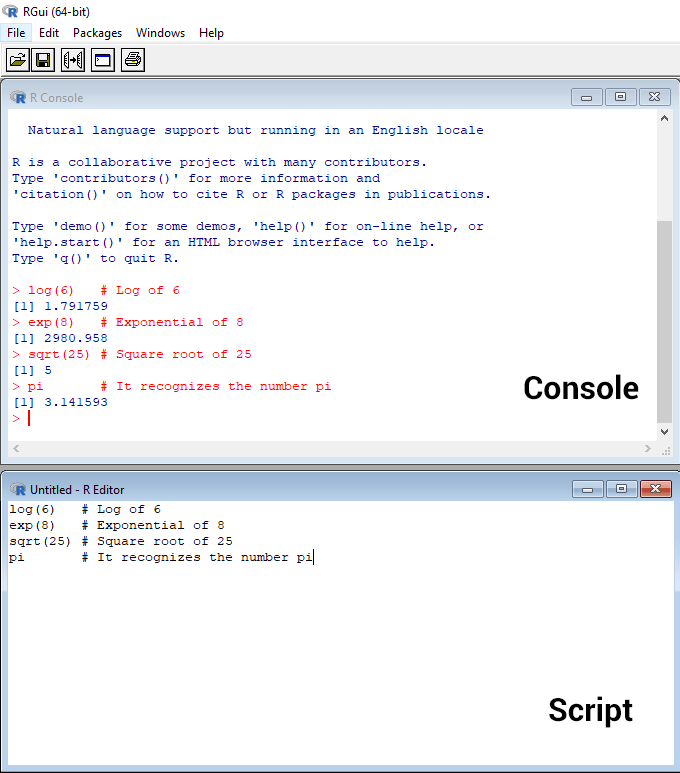
You can also write in the script window and execute the code when you want. If this window doesn’t appear at first glance go to File → New File → R Script or press Ctr + Shift + n or Cmd + Shift + n in Mac if you are using RStudio.
Once opened, copy and paste the code to the script, select it and press Ctr + r or Cmd + r in base R or Ctr + Enter or Cmd + Enter in RStudio (you can customize this). In the following block there are several examples you can try.
log(6)   # Log of 6
exp(8)   # Exponential of 8
sqrt(25) # Square root of 25
pi       # It recognizes the number pi
It should be noted that you can use # for comments that won’t be executed.
sin(3 * pi) # Sine functionYou can also write several instructions within the same line, using a semicolon (;) as separator, although this practice is not recommended.
# Executing two commands in the same line
1 + 4; 2 * 3 - 8
If you want to store the values in variables you can use the = or <- sign. In R, it is more recommended using the arrow <-. If you want to print the stored variables in the console call the name or call the assignation between brackets.
a = 8 + 2
a # Prints the variable 'a'

b <- 1:15
b

a + b # Prints the result of the sum

A <- "car"
A

(A <- "car") # Prints 'car' in the console
A more detailed example
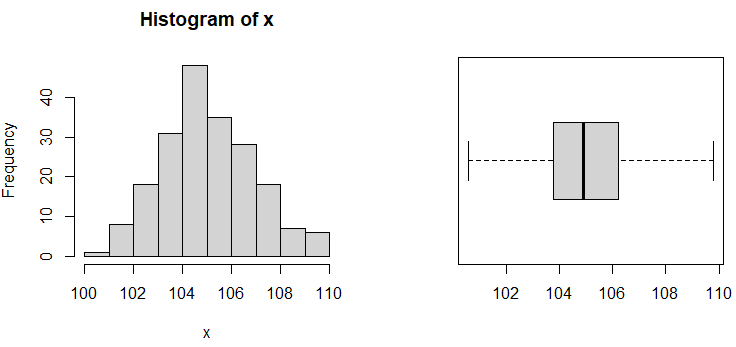
Let’s see a more advanced example. We are going to simulate a normal random variable of size 200 with mean 105 and standard deviation of 2. Then, we make a summary and its corresponding histogram and boxplot.
# Seed for reproducibility
set.seed(1)

# Generating data
x <- rnorm(n = 200, mean = 105, sd = 2)

# First elements of the data
head(x)

# Summary of the data
summary(x)
107.1996 105.7260 105.0169 104.4441 105.6405 104.2416
Min. 1st Qu. Median Mean 3rd Qu. Max.
100.5 103.9 105.3 105.4 106.9 111.1# Dividing the graphic window in two columns
par(mfcol = c(1, 2))
# Plotting a histogram
hist(x)
# Plotting a boxplot
boxplot(x, horizontal = TRUE) Check where is R installed
Sometimes it is useful to know the R installation path. The R.home function will output the path where you have R installed in your computer. Open R and type the following in the console if you want to check which is the installation path.
R.home()Check R version
You can also check you have downloaded and installed the correct version typing:
R.Version()$version.string"R version 4.3.1 (2023-06-16 ucrt)"In this case the output shows that we have installed the R version 4.3.1. You can have additional information about the version just typing R.Version().
How to change the language in R GUI?
By default, R will show the graphic user interface in the language of your operating system. To override this behavior and change the language permanently you can follow this steps:
-
Go to the R installation path. Recall to use the
R.home()function if you don’t remember where it is. - Open the installation folder.
-
Open the
etcfolder. -
Open the
RConsolearchive with a notepad. -
Change the line
language =forlanguage = enif you want to set the language to English, or specify the language code you prefer.
